Trimming Hedges Like a Pro: What We Learned
Intro paragraph for you to give a quick overview of this project, and entice the reader to continue reading because your ideas are amazing. Bold your keyword once here.

Jump to:
- Why I Love This Project
- materials
- Instructions (layout 1)
- Instructions (layout 2)
- pro tip
- material Substitutions
- style Variations
- Tools & Equipment
- Top Tip
- FAQ
- Related
- your next project
- This is an H2
- Fractions
- Acronyms
- Unordered List
- Unordered List with Feast+ List Icon
- Ordered List
- Buttons
- Breadcrumb
- Categories
- Optimized for ads
- To do:
Why I Love This Project
- Practical Upgrade: It solves a real problem, making your home more functional and comfortable.
- Stylish Results: The finished look adds value and visual appeal you’ll notice every day.
- Budget-Friendly: With the right tools and planning, this project is affordable and pays off long-term.
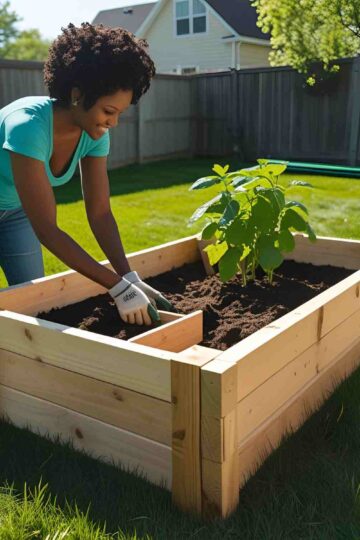
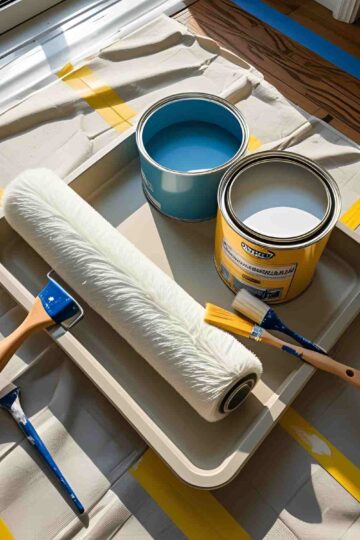
materials
Use a clear photo of the project materials, neatly arranged and labeled. Add a short paragraph explaining why these materials were chosen and what role they play in the project. Insert the list of materials below (no quantities needed).
- material 1
- material 2
- material 3
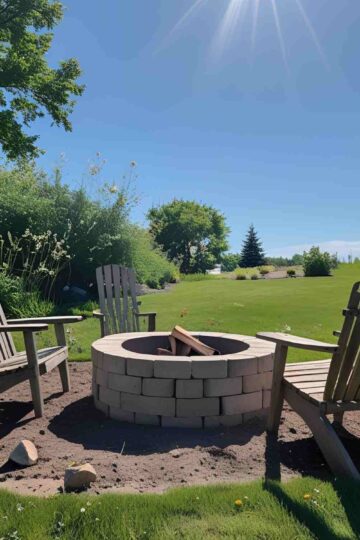
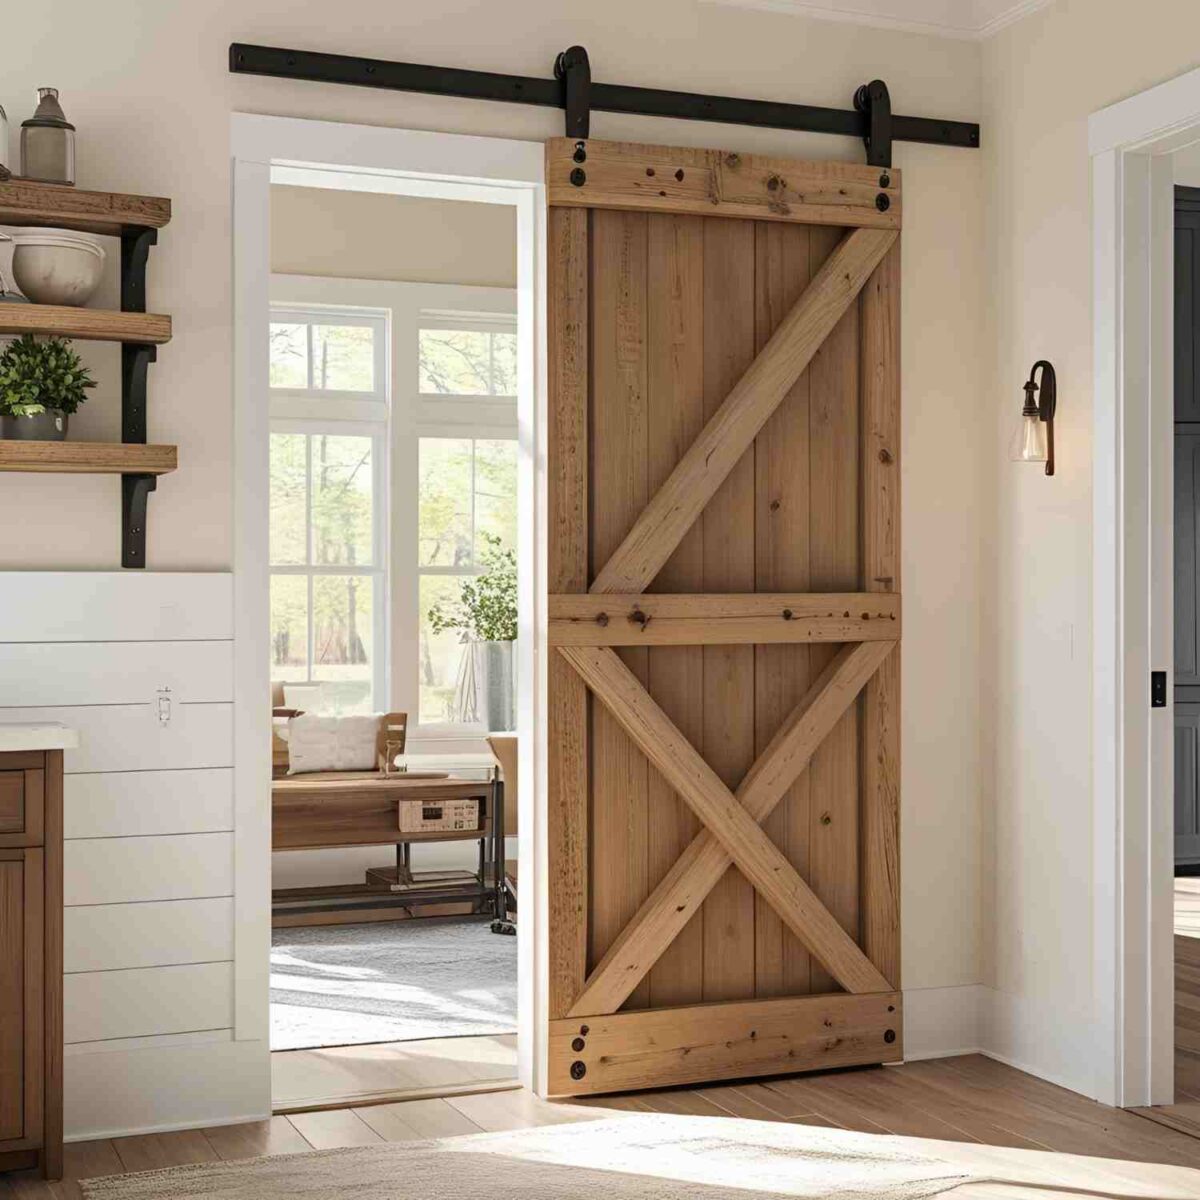
Instructions (layout 1)
Use this section for step-by-step process shots, paired with descriptions. Readers prefer seeing these here rather than inside the final printable project card.
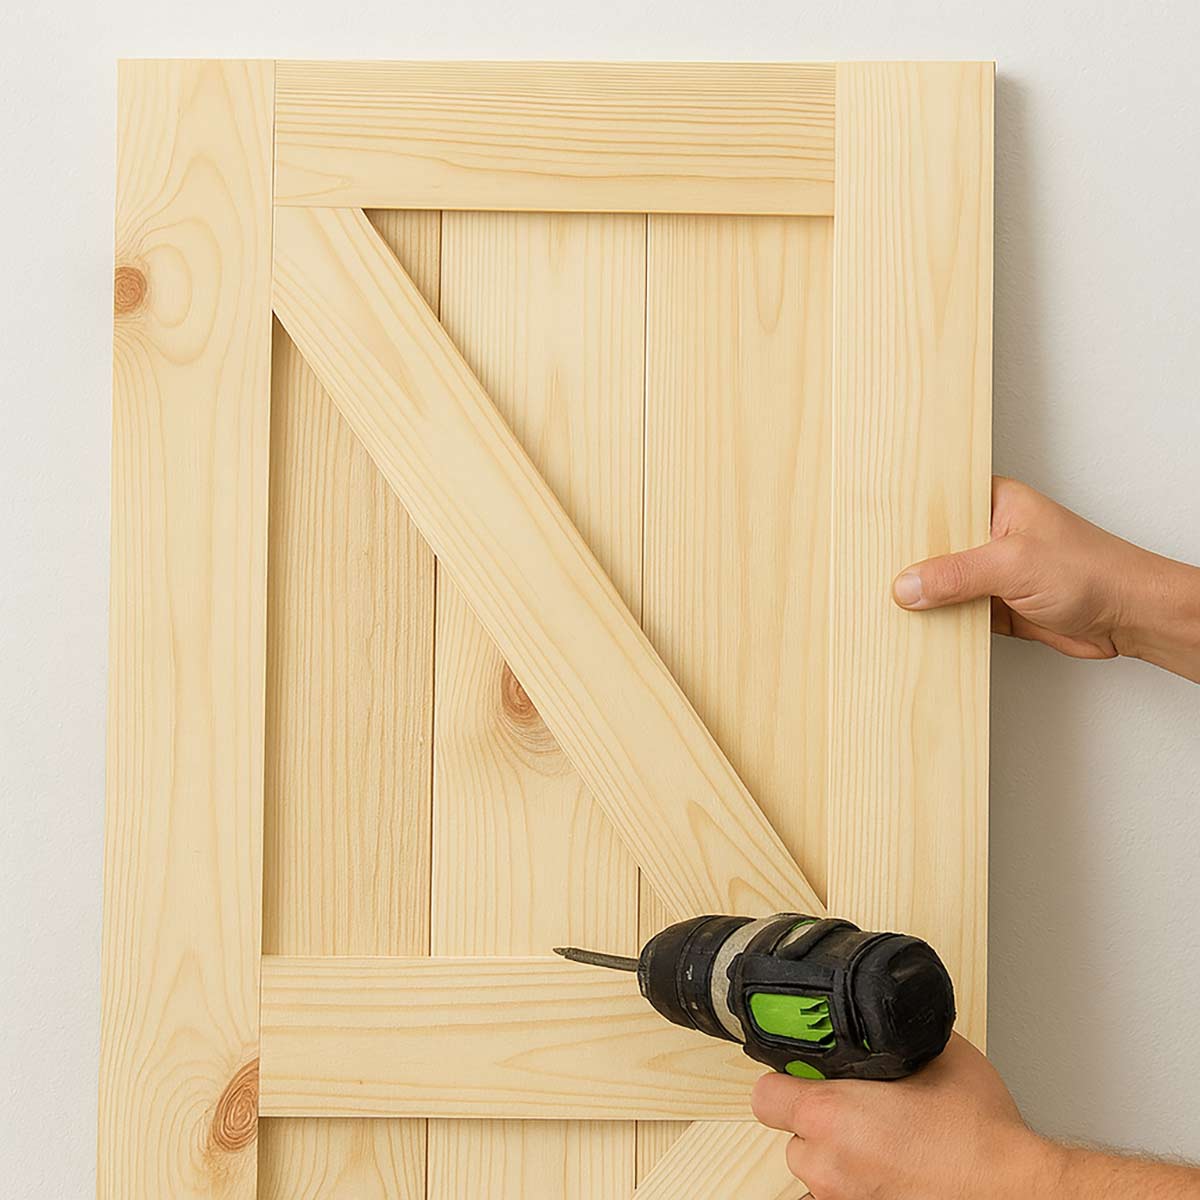
- Step 1: Prep the area by cleaning and measuring the space. Consistency in prep work ensures the best results.
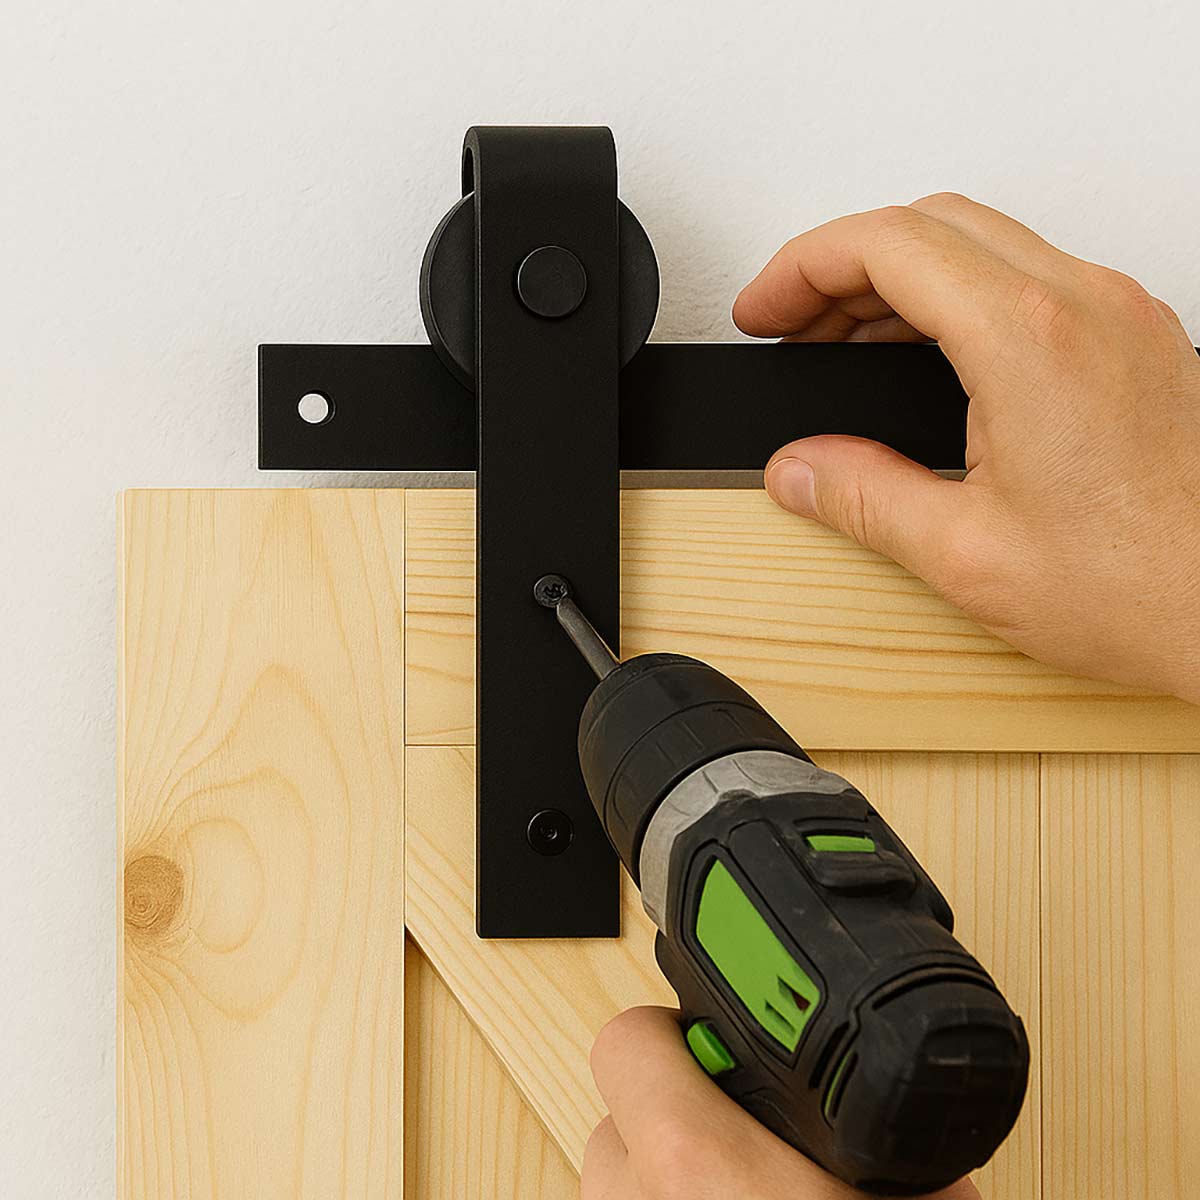
- Step 2: Install the base materials. Take your time to align everything correctly—this step sets the tone for the whole project.
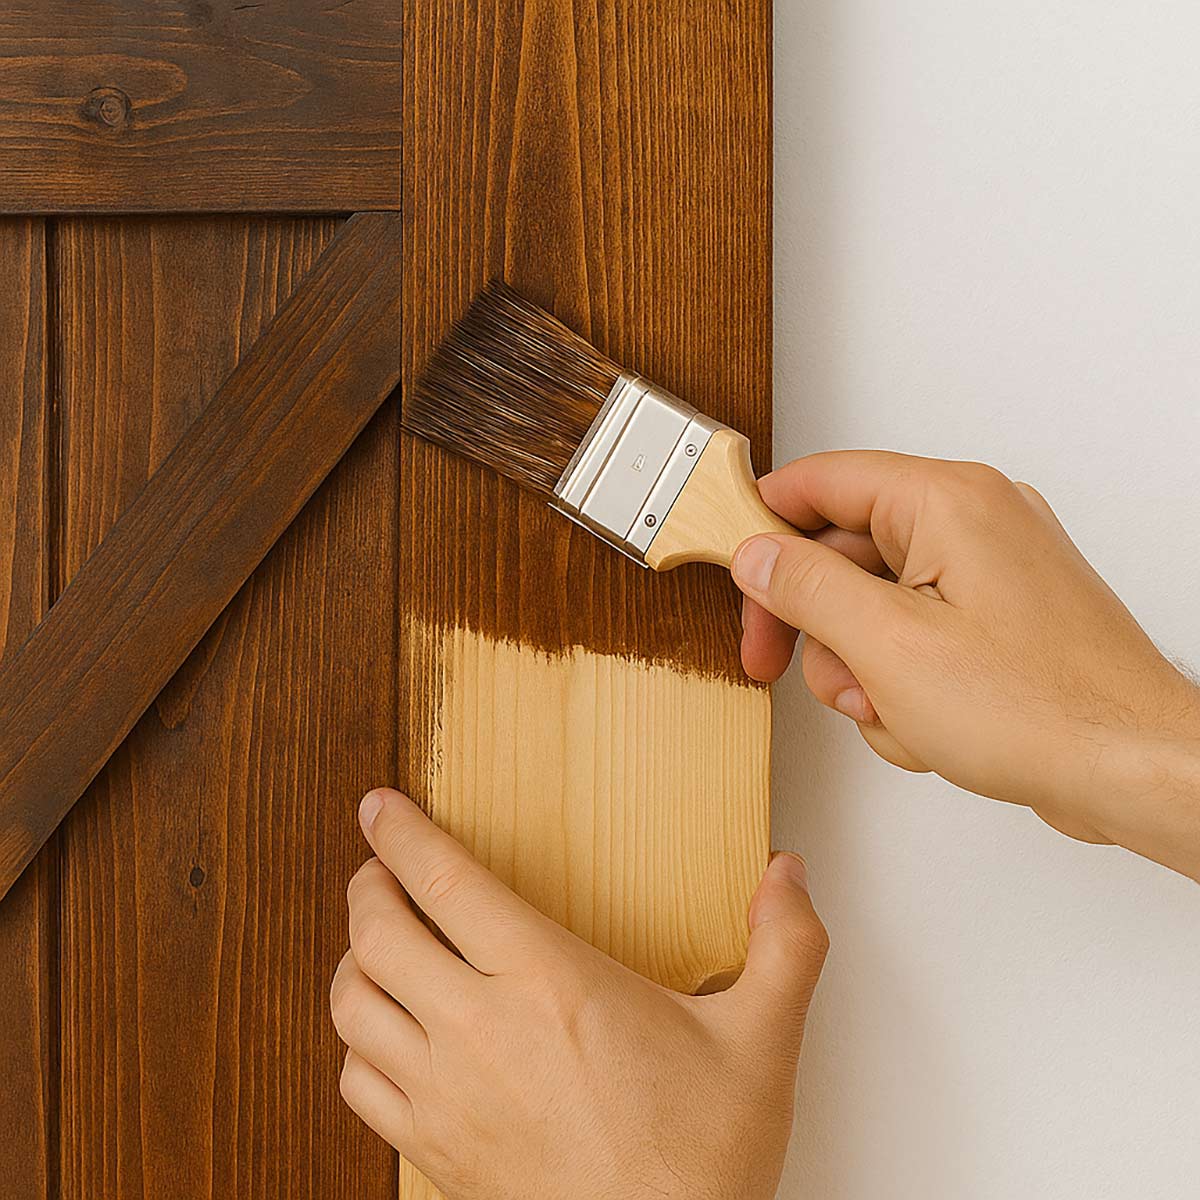
- Step 3: Add finishing elements, like paint, trim, or fixtures. These small touches elevate the project.
- Step 4: Clean up the workspace and enjoy the transformation!
Instructions (layout 2)
Step 1: Prep the Area
Prep the area by cleaning and measuring the space. Consistency in prep work ensures the best results.
Step 2: Install Materials
Install the base materials. Take your time to align everything correctly—this step sets the tone for the whole project.

Step 3: Add Finishing Touches
Complete the project with paint, sealant, or accessories.
Step 3: Done!
Stand back and admire the work!
Remember that image SEO is important: file names should reflect the project + step they represent. Only use alt text as a screen reader description. Do not use captions.
Hint: leave a useful hint here, like let the grill run for 4-5 minutes to burn off any remnants, then clean it. I like to use this bristle-free barbecue brush (affiliate link) for cleaning the grill.
pro tip
Save all your cut-offs or leftover pieces—you may need them for touch-ups later.
Featuring a user review of this project in the content helps to provide social proof to readers that the tutorial is tried, testing and true.
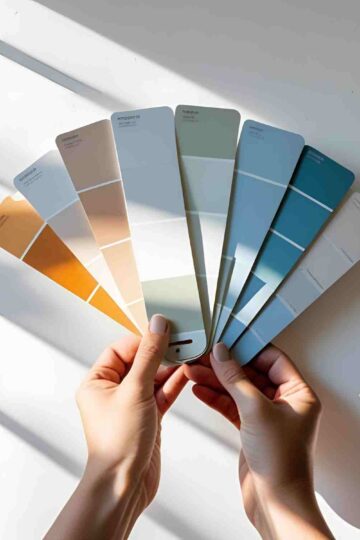
material Substitutions
- Flooring: instead of hardwood, use luxury vinyl planks for a more durable, water-resistant option.
- Paint: swap latex for chalk paint if you want a matte, rustic look.
- Tools: if you don’t own a table saw, many hardware stores offer cutting services.
Even if readers don’t need substitutions, they may be planning a variation for family, style, or budget reasons.
style Variations
- Modern: Use sleek hardware and neutral paint colors.
- Rustic: Add reclaimed wood or natural stone for a cozy feel.
- Family-Friendly: Choose washable paints and rounded edges for safety.
Tools & Equipment
The tools you use can change the outcome. For example, using a laser level ensures precise lines, while a manual level might require extra adjustment.
Tell your visitors what equipment you use and how to adjust the project if they use something different, and link to your affiliate link to purchase the equipment.
Top Tip
Share something here that you think is key to making this project well, such as: Don't forget to seal the wood. Or a rotary saw is the best for this project and can be rented at home improvement stores.
FAQ
Enable the Feast Plugins Yoast FAQ toggle for an interactive question & answer section!
Visit the search results to see which questions come up under the People Also Ask section for your primary keyword, and answer them here.
Visit the search results to see which questions come up under the People Also Ask section for your primary keyword, and answer them here.
Visit the search results to see which questions come up under the People Also Ask section for your primary keyword, and answer them here.
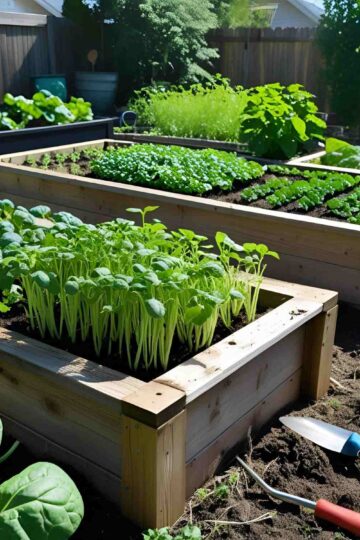
Related
Looking for other projects like this? Try these:


your next project
Here are a few complementary upgrades you can tackle after completing this one:


This is an H2
Most of your content should be contained in H2 subheadings. Body font is set to 16px by default on all themes.
For more details, see this blog post.
This is an H3
H3 can be used to sub-categorize your content under H2 headings.
This is an H4
No real application for h4 outside of technical and legal documents.
This is an H5
No real application for h5 outside of technical and legal documents.
This is an H6
No real application for h6 outside of technical and legal documents.
Fractions
The Feast Plugin contains an enhancement to convert text-based characters to fractions, so that you get ½ instead of 1 / 2 and ¼ instead of 1 / 4.
- ½
- ⅓
- ¼
- ⅔
- ¾
- ⅕
- ⅖
- ⅗
- ⅘
- ⅙
- ⅚
- ⅞
- ⅛
- ⅜
- ⅝
Note that when using custom or Google Fonts, not all fonts contain the necessary fractions.
Acronyms
While we know it's unlikely to be used on home improvement sites, the Feast Plugin contains an enhancement to convert recipe acronyms to improve screen reader accessibility, so that it reads the word teaspoon instead of "tee ess pee" and tablespoon instead of "tee bee ess pee".
Unordered List
- This is an unordered list block
- This is the second item in the list
- Use unordered lists to create lists in which the sequence isn't important
Unordered List with Feast+ List Icon
- This is an unordered list block
- This is the second item in the list
- Use unordered lists to create lists in which the sequence isn't important
Ordered List
- This is an ordered list block
- It's good to itemize sequential steps or items in an ordered list
- Using lists to break up your content and make it easier to parse is a good user-experience practice
Buttons
Buttons can be used on pages as a call-to-action to get visitors to subscribe, purchase, or engage in some way.
Breadcrumb
The Feast Plugin contains upgrade integrations with Yoast, making adding the breadcrumb simple. It also comes with the ability to:
- add a custom "project index" page
- remove the current page title from the breadcrumbs, to avoid duplication
- hide breadcrumbs on pages without a parent
The Feast Plugins Settings page also contains reminder to properly configure Yoast if they're not set up according to best practices.
Categories
The "Primary" category set in Yoast is what is used for the breadcrumbs up top, as well as the Modern Previous + Next feature.
Optimize your categories by turning them into full landing pages using the Custom Categories block editor integration.
Use the Feast Plugins Scheduled Categories feature to improve your user experience, by automatically displaying posts from specific categories during the right season or holiday.
Optimized for ads
Combining the Feast Plugin with one of our themes integrates technology for improved viewability, more potential ad layouts that lead to higher bids, and higher revenue for you.
To do:
Before publishing, complete this checklist, deleting the list items as you complete them:
- All images have alt tags
- Content is on-topic (minimal or no personal stories)
- You've manually linked to related posts in the content (try to do this naturally, not as a separate list of links)
- The "related" block is has a category or primary project type set
- The "pairing" section has projects to be paired with this
- Yoast meta description filled out (best practice)
- The Yoast primary category has been set
- Featured image has been set (1200x1200, JPG)
- Hidden pin has been set
- Clarify any intermediate or advanced techniques - not everybody has your experience.
- For Recipe Sites: Check your recipe schema has been fully filled out at https://search.google.com/test/rich-results (after publishing)
- For Recipe Sites: Check https://developers.google.com/speed/pagespeed/insights/ to make sure this recipe has enough content above-the-fold to cause images to lazyload (after publishing)